Post-Production Workflow Steps Every Brand Film Needs
Post-production turns a shoot into a reliable asset. Organize the handoff, agree approvals early, lock the story before finishing, and build each version from the distribution brief. This workflow keeps editorial, sound, graphics, grading, quality checks, and final files moving in the right order.
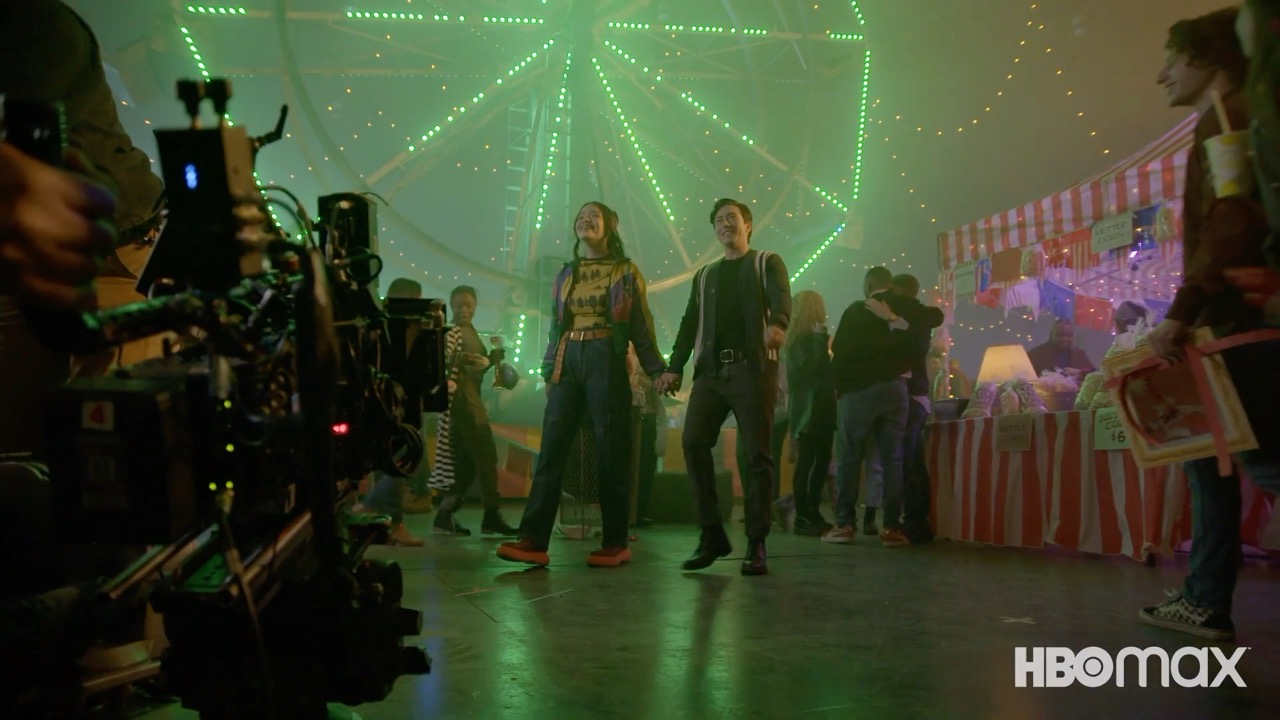
Brand Film Post Production Workflow From Edit to Final Delivery
Post-production in film connects production and post-production from principal photography to a finished asset. A wrong aspect ratio, late caption, or copy change can reopen the edit.
The workflow for brand films sets the handoff, review path, and output requirements before finishing starts. It gives the editor, post supervisor, and crew one approval process from handoff to release.
- 4K SDR uploads: YouTube recommends 35 to 45 Mbps for standard frame rates in its current upload settings.
- Media handling: Adobe uses project bins to group and manage media in an edit. See its Adobe guidance.
- Captions: W3C’s Level A guidance calls for captions on prerecorded audio in synchronized media. See the W3C guidance.
For branded content, a basic workflow gives every approval an owner and makes the whole workflow more efficient.
Understanding the Post Production Workflow for Brand Films
The stages of a post-production workflow are media check, story edit, finishing, and inspection. First, agree how the post-production process will vary by scope, audience, and platform. At each step, record approval.
- Ingest and sorting: Check, back up, and organize the media.
- Editorial: Build selects, an assembly, and a rough cut.
- Finishing: Complete sound, graphics, grading, captions, and any effects.
- Output: Render, inspect, release, and archive the approved versions.
Every film post-production workflow and video post-production workflow needs a review and approval workflow, final approver, and release versions. Consolidate notes to keep a clean workflow.
Raw Footage Importing and Organization
Raw footage organization tips start at handoff. The director of photography and production team hand over camera originals, audio, scripts, releases, stills, graphics, and the brief.
Create folders for raw footage, proxies, audio, music, graphics, renders, and project files. In cloud-based post-production workflows, use identical names on the hard drive and shared project.
The post-production team should log the transfer before editing begins, and the editor should check the files against the brief.
Keep verified copies. The video shoot plan should carry through to references and version names.
Keep the edit decision list with the brief. It records priorities and ruled-out options.
The Video Editing Process Breakdown
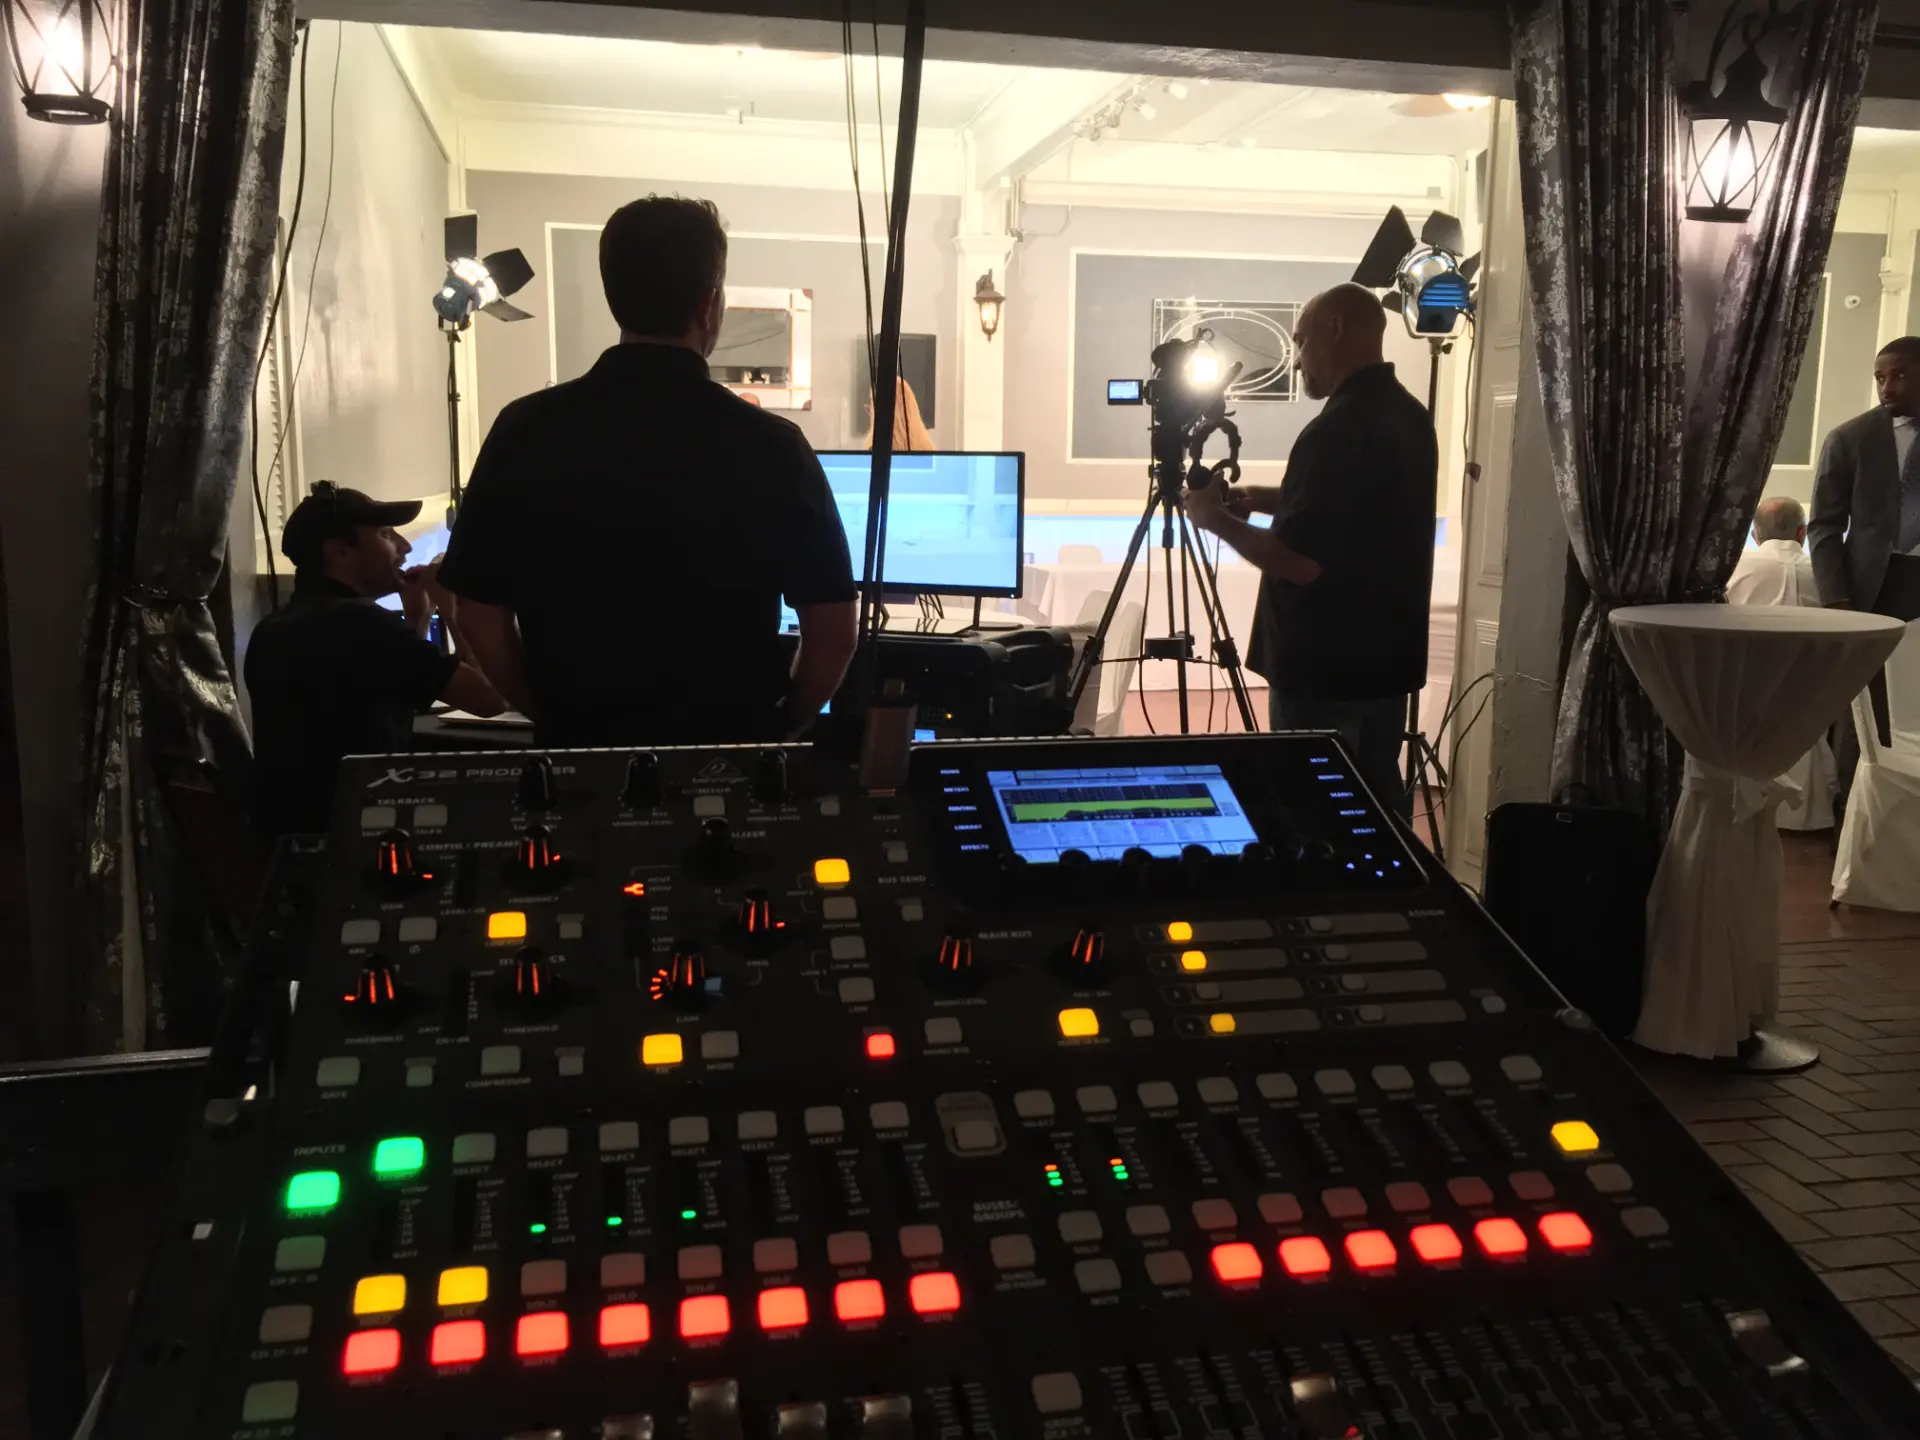
The video editing process breakdown starts with a full review of the brief, footage, and story moments.
- Selects: Mark the strongest interviews, product moments, B-roll, and edit points.
- Assembly: Build the first edit around the story beats.
- Rough cut: Test the edit structure, pace, and relationship between words and visuals.
- Fine cut: Resolve edit notes and prepare the picture for approval.
- Picture lock: Stop edit changes before the finishing pass starts.
Filmmakers use editing technique to serve the message. Build the edit around the next point, then review it before locking picture.
Set one place and deadline for consolidated feedback. Keep an edit log.
Editing software like Adobe Premiere Pro or Final Cut Pro follows the edit plan, not the other way around.
Sound Design for Branded Films
Good sound is half the battle toward a great brand film. The audio pass is not a music pass at the end. It protects dialogue, sets pace, and gives the picture atmosphere. The audio pass is not a music pass at the end. It protects dialogue, sets pace, and gives the picture atmosphere.
Start with production audio. A sound editor should organize audio tracks, clean dialogue, balance room tone, and correct uneven levels before adding licensed music, voiceover, and sound effects against the edit.
Review the mix on likely audience speakers. Listen for dialogue buried under music, abrupt room-tone changes, distracting sound effects, and copy that no longer fits. A single reference cut can streamline the mix. Follow the broadcaster or platform specification.
Run this check again after picture lock. Even a small editorial change can affect a music edit, a voiceover pause, or the timing of a sound effect.
Motion Graphics for Brand Storytelling
Animated graphics need a clear job. Use a lower third to identify a speaker, a product callout to clarify a benefit, or a simple title to direct the viewer. Each graphic should follow the visual system.
Approve on-screen copy before animation. Visual effects should solve a visible problem, such as cleanup, screen replacement, or a product simulation. Bring in a VFX team only when VFX is required by the approved approach.
Decide the required video formats before building graphics. Video production may need a vertical cutdown and captioned social version with different text placement and timing.
Brand Film Color Grading Steps
Use color correction and color grading in that order. Correct exposure, white balance, and skin tones first. Then build the visual direction and match the shots so the film feels continuous.
Correction resolves technical inconsistencies. Grading creates the intended look. Adobe’s Adobe guide covers correction, contrast, light, and grading tools in the editing timeline.
Colorists should review a color graded cut against the approved brand colors. Check color continuity across cameras, color balance on a normal consumer display, and whether the color supports the intended finish.
Compare the approved hero shot with the rest of the entire film. If the visual direction changes from shot to shot, the film will feel assembled rather than finished.
Choosing the Right Editor for Brand Films
Choosing the right editor is about fit, not the busiest reel. Look for work with a similar audience, pace, approval structure, and set of deliverables.
Use these editor questions to discuss the brief, feedback, music licensing, graphics, and final files. A feature film credit alone does not prove campaign experience.
Ask how the editor manages revisions, names versions, and raises a risk before the deadline. The filmmaking process depends on judgment more than the software.
Maintaining the Post-Production Timeline
Set the schedule before footage arrives. The post-production process takes the time required by the footage, review rounds, graphics, and release versions. Do not promise that every project needs the same number of days.
- Assembly: Review the material and establish the story.
- Rough cut: Confirm the direction before detailed finishing work.
- Fine cut: Resolve editorial notes and prepare for finishing.
- Finishing: Complete sound, graphics, color, captions, and effects.
- Release: Review the approved files against the final specification.
Use the commercial guide to align the wider production schedule with post. Name the final reviewer at kickoff. When a change affects the schedule, graphics, or footage, show its impact before approval.
Final Delivery Formats for Brand Films
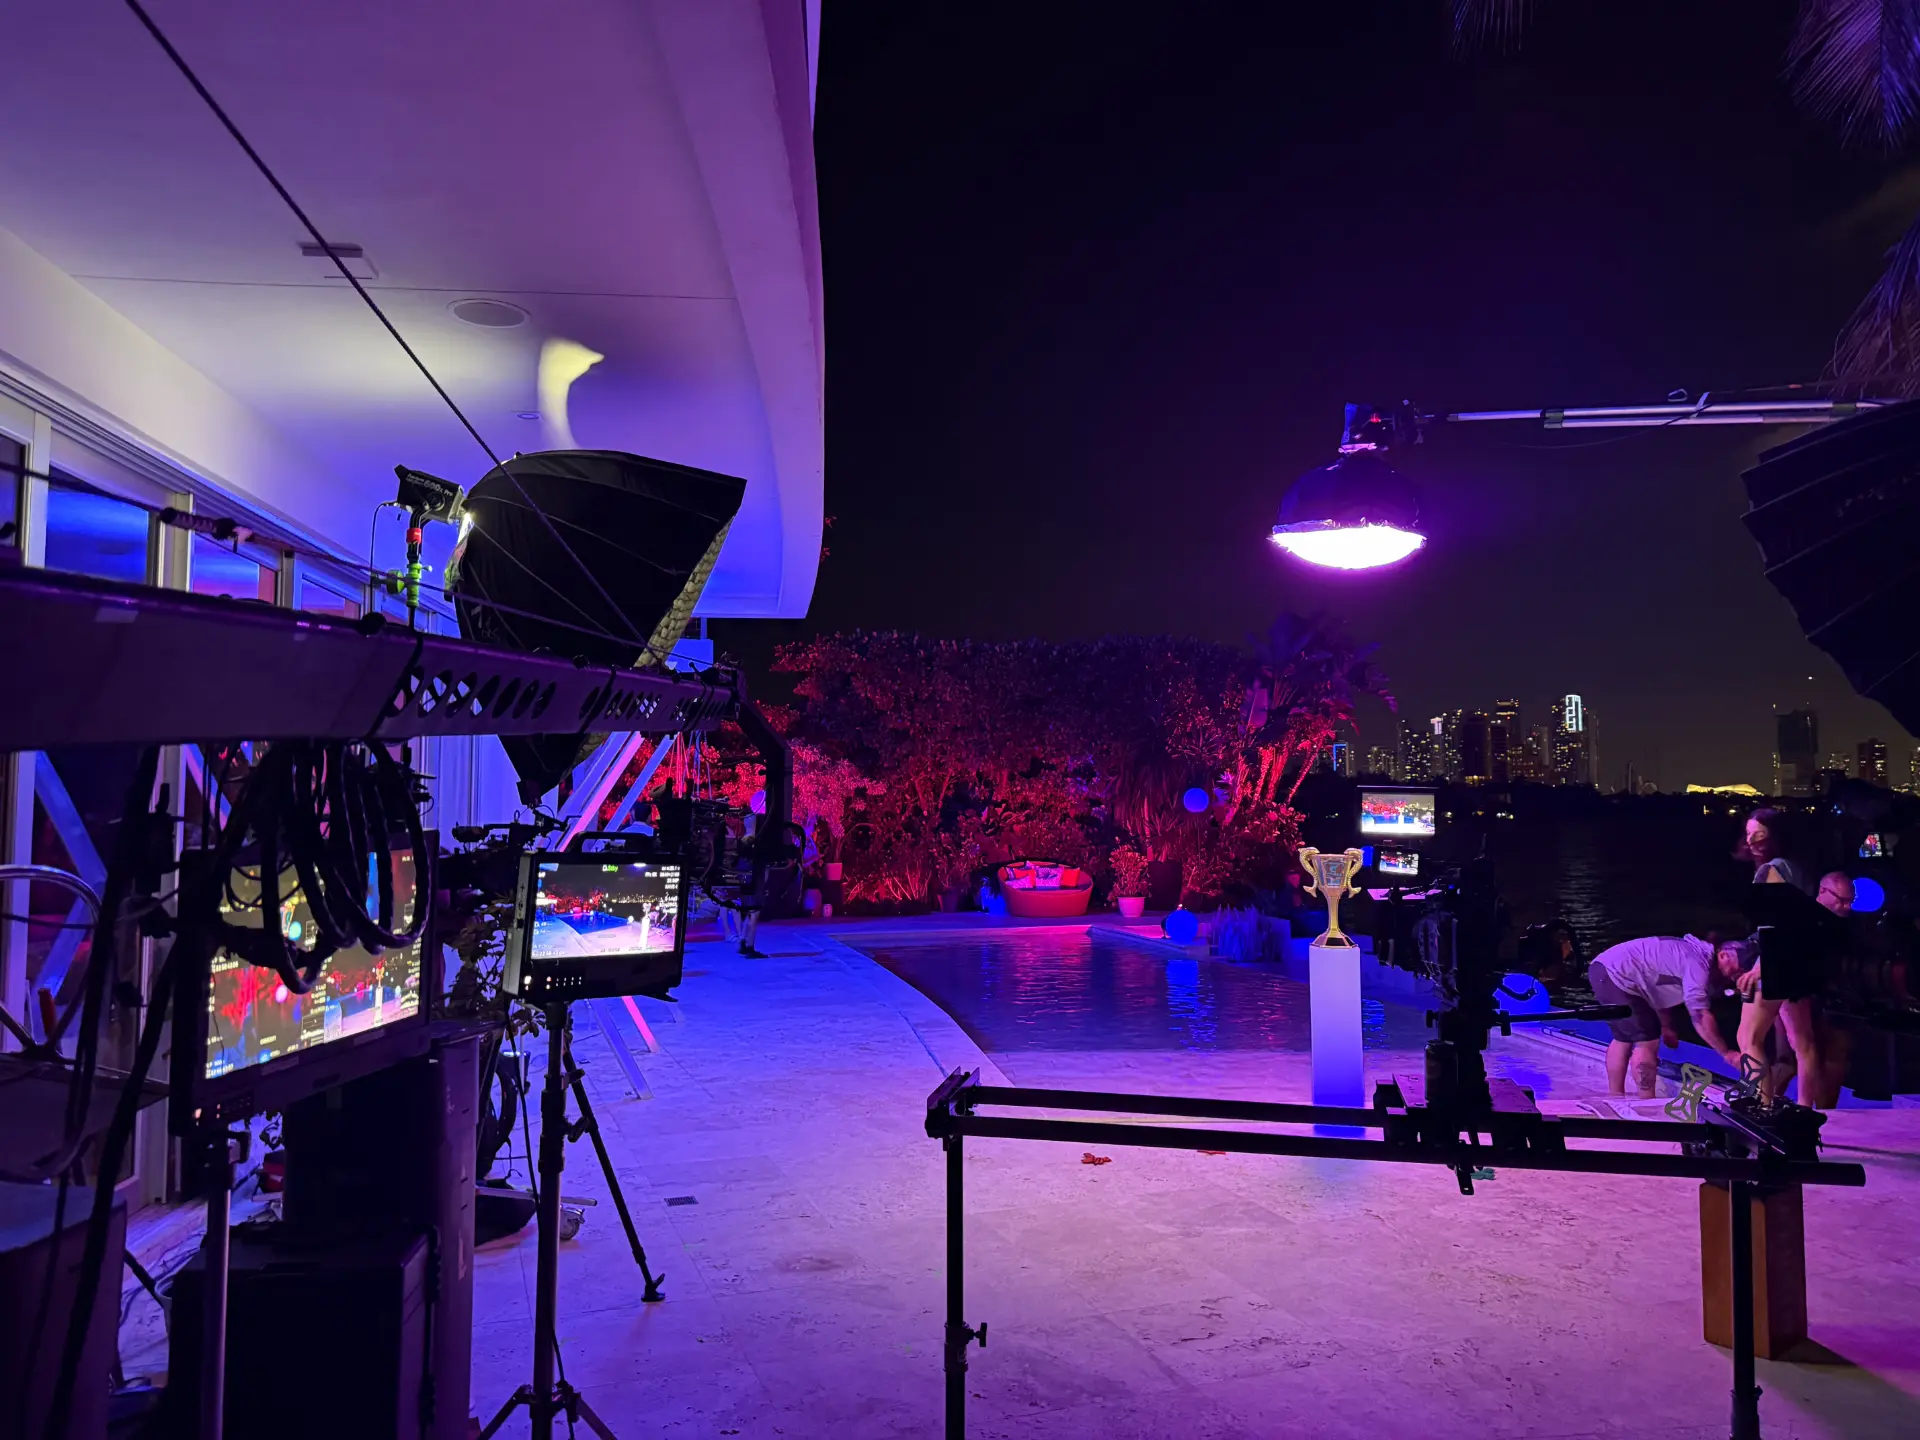
The chosen files should follow the distribution plan, not a saved render preset. Define the destination before rendering: aspect ratio, resolution, audio, captions, and platform requirements.
Common formats include:
- MP4 for web and social media
- MOV for high-quality internal use
- 4K for large screens
- Vertical and square versions for social platforms
- Master file: Retain the approved master at the project resolution.
- Platform versions: Create each required landscape, vertical, square, or cutdown version from the approved master.
- Caption files: Supply captions when the distribution brief requires them, and check their timing against the picture.
- Version log: Record the file name, date, format, and destination for every released version.
Run a test render first. Check framing, captions, audio, titles, and file naming before sign-off. Release is complete when the correct approved version reaches the destination.
Post-Production Quality Control
Post-production quality control is a deliberate final pass, not a rushed watch-through. Review the full file from beginning to end, then inspect the final version itself.
- Editorial: Confirm names, spelling, legal copy, captions, and approved messaging.
- Picture: Check transitions, titles, frames, visual effects, and missing assets.
- Look: Check exposure, skin tones, the approved palette, and the grade.
- Sound: Check dialogue, music, effects, room tone, and audio peaks.
- Technical: Check resolution, aspect ratio, frame rate, file name, and destination.
- Accessibility: Check that captions are accurate, timed correctly, and include meaningful non-speech sound where needed.
Watch the output on the intended screen. Then archive the approved master, project, source files, and version log together. One final tip: check the full export before publishing.
At each step, check the current version against the approved brief.
Use a reviewer who has not been making the edit for the last pass when possible. A fresh set of eyes is more likely to catch a typo, a missing frame, or an incorrect version label.
Conclusion – The Value of a Strong Post-Production Workflow
A strong workflow gives every stage a clear owner and decision. Organize the material, shape the story, lock the cut, finish with purpose, and inspect every version before release.
When production and post need to run through one accountable team, Start a Project with Team Unity Media.
FAQs –
1) What is a post-production workflow for brand films?
It turns raw footage into approved assets. It covers media handling, editorial, sound, animation, grading, feedback, final checks, and release. The tasks can change by project, but the decision order keeps the work clear.
2) How long does the post-production timeline take?
There is no reliable flat duration. How long does post-production take in practice? Runtime, footage condition, reviews, graphics, sound work, and release versions affect the schedule. Set approval points and outputs early.
3) Why is color grading necessary for brand films?
Technical correction makes footage consistent. Grading creates the visual direction after that. Together, they help the film feel coherent while keeping the palette and skin tones under control.
4) What are the best delivery formats for brand videos?
Choose them from the distribution brief. Keep an approved master, then make the needed platform versions with the right framing, resolution, audio, captions, and file naming.
5) What is the role of sound design in brand films?
The audio pass brings dialogue, music, room tone, and effects into one considered mix. It makes the message easy to follow and keeps the sound from distracting the viewer from the picture.
Related Posts


.png)
.png)